Wednesday, July 18, 2012

What the Baby Crap?

I've said it before and I'll say it again:  Thank God for summer vacations.  I don't know how people who work year round get anything done.

I've started trying to research crap for the baby.  Ugh.  I have discovered that the only thing that comes close to the Wedding Racket is the Baby Racket.  They will sell you anything and EVERYTHING.  It's so completely overwhelming.  Especially since, like, this stuff matters.  When I was registering for wedding stuff who cared if I registered for the cheap set of mixing bowls that would break the second time I used them?  But...if the stroller wheel falls off while I'm pushing the kid through a mine field...then we have a problem.

When I did an image search for "exploding baby" this is what came up. Kind of makes me laugh.

In the bit of research I've done, a lot of the reviews have been like "Well, it depends on what you are looking for.  If you want x,y,z then this (stroller, high chair, car seat) is for you.  If you want 1,2,3...the don't bother."  Well how do I know what I want????  What if I think I want x,y,z and end up needing 1,2,3 after the kid arrives??

So here's where you come in facebook friends, pinterest friends, and other internet besties:  I need some advice.  What do I need and what can I do without?  What works and what doesn't?

Other things to note:
1.  I REALLY think I want a jogging stroller.  Do I?  If so...fixed wheel or not?  Best brand?
2.  Everyday stroller?  What features do I need?  Can one stroller do it all??
3.  Car seat?  Uhhhhhhh......
4.  What DON'T I need?  Please, I kind of hate clutter...if it was a waste or money and space TELL ME.

Alright internet land...I'm counting on you.  Aaaannnnnd.....GO!

Monday, July 9, 2012

Pregnancy Is Turning Me Into a Dude


I just feel like I need to get this off my (hairy) chest...pregnancy is turning me into a teenage boy.  I suppose just ONE of the hormones in the cocktail coursing through my system right now could be testosterone.  Evidence that I am switching genders:

1.  I'm hungry ALL THE TIME.  It doesn't matter how much or when I last ate.  Two hours later, I will be hungry again.  In fact, I'm hungry right now.  And it's been about two hours since I housed a GIANT bowl of cereal.  Z actually has very little sympathy for this side effect of growing an alien.  He just says "Now you know how I feel all the time."

They say you only need about 300 extra calories a day...you technically aren't eating for two.  But I certainly feel like I am.

2.  I could sleep all day if someone would let me.  (Along with being hungry, I am also typing this post from my bed.  Thank God for summer vacation.)  I actually asked the doc about this lack of energy at my appointment a few days ago.  Everyone I've talked to has said "OH, second trimester!!  I had so much energy!!"  I was worried that I was becoming anemic or something...nope.  The doc just said that this is the way the baby is working it's "baby magic" on me and that every woman/pregnancy is different.  Basically....suck it up.

I think the baby is trying to communicate with me.  He/She is saying "Get used to it mom.  Once I am here you will NEVER HAVE ANY ENERGY AGAIN."

3.  I have worse acne than I had when I was a teenager.  I was very lucky in high school that I had a very clear complexion.  I never turned into a pizza face.  3 zits at the same time was a bad day for me.  So the acne that I do have right now, while not terrible, is still a pain in my rear.  (Z also has very little sympathy for this one...)

4.  I'm super hairy.  Everyone talks about the lush hair that sprouts from your head while you are pregnant.  You will never have better hair in your life!  No one tells you that this phenomenon also happens on your stomach...legs...arms... pits...other places.  I feel like I'm 11 again and discovering body hair for the first time.  TMI?

So there you have it.  My evidence that I am turning into a teenage boy.  Maybe when I get some more energy (18 years from now) I will post about how I finally came to terms with these changes...until then, I'm getting a snack and going back to sleep.

Wednesday, June 13, 2012

Changes on EZ's Street

or:  Why I Haven't Been Blogging

There are some serious changes coming down EZ's Street in 2012.  Two major ones, to be exact.  I suppose it's time to fill ya'll in (channeling my South Carolina...)

Major Change Number 1
Merry Christmas to us!!!!!  Junior or Junior-ette will be here sometime around Christmas.  The official due date is December 24.  We are now entering the second trimester so I figured it was time to fill everyone in.  Also...I want to be able to post all of my intimate details on Facebook and how can I do that if no one knows???

And hence the reason I haven't been blogging.  I have felt like hell.  (Actually, I'm sure there are a lot of women who have it a lot worse than I did.  But that doesn't make one feel any better when one is going through it.)  Except for heartburn*, I have had every single early pregnancy symptom you hear about...and even some you don't.  Large amounts of snot?  Who knew??

But as we approach the end of the first trimester and begin entering the second I am feeling TONS better.  My energy has returned and my emotions have stabilized.  I have stopped having intense food cravings (for the most part).  And while I still get green around the gills occasionally, it isn't NEARLY as bad as it was.  So hopefully, I can get back to blogging a little bit more regularly again.

*According to the Old Wives, this means my baby is going to be as bald as an egg when it comes out.

Major Change Number 2  


Slightly less exciting than a baby, but more pertinent to the theme of this blog, WE'RE MOVING!!!!!  YAY!!!

 When we first found out we were pregnant, we tossed around the idea of moving.  Our townhouse is fine for the two of us but babies bring a lot of STUFF with them and we weren't sure where we would fit it all.  We didn't decide to actually start looking seriously, though, until our rental company informed us that they would be raising our rent for next year.  Again.  The little we had looked at other places told us that we could find something much more suited to our new needs for a similar price.  So we started looking in earnest.

The place we found is half of a historic home pretty close to downtown.  It has hardwood floors, a fireplace, a small backyard, a basement with a workbench (Z already has a honey-do list), a real dining room, and more bedrooms than we know what to do with.  All for only $60 more a month than what we would have to pay next year for our townhouse.  Win.

My job this summer is to pack the boxes.  We can start moving stuff over in July and will be officially moved by August 1.  We are really excited about this place and while I normally despise the thought of moving, I'm actually not dreading it this time.  I think there are two reasons for this:  1, the new place feels like a home and with a baby on the way I'm sure I will get all nest-y on you soon  and 2, I don't have to do any of the heavy lifting this time....mwahahaha!

Tuesday, April 24, 2012

Cookbook Reviews


I really enjoy cooking.  I’m definitely not a “great” cook (yet) but I like to think that I can throw a meal together.  I also like cookbooks and I am always on the lookout for new recipes to try.

So I’ve decided to embark on a rather daunting journey.  The task that I have set for myself is to try my hand at reviewing a few cookbooks! (This will also be my first blog SERIES!  Woo hoo!!) Here will be my criteria:

1.  Practicality of recipes-- While it’s nice to dream about a perfectly stocked kitchen with every baking tool I may need at my fingertips, let’s get real.  I live in a rental.  I’m on a budget.  So I will be basing my review on how practical the recipes really are.

2.  Ease-- I would love to be able to devote whole days to whipping up fabulous delicacies in my rental kitchen.  But again...not so realistic.  I’m on a time crunch here, people!

3.  Other cookbook-y stuff-  If you read the intro to your cookbooks, usually they contain great tips and hints for cooking:  Ingredient substitutions, hardware substitutions, tips for special techniques, etc.  That’s one of my favorite parts about cookbooks.  I learn so much from the intros!

4.  My whims- Anything else I feel is pertinent to share with my adoring fan base.


Stay tuned for my first review!

Saturday, April 21, 2012

3 Favorite At Home Beauty Treatments

Have you ever had one of those weeks where you have just been....uninspired?  I have.  This week, to be precise.  The recipes I picked this week were uninspiring and I ended up not even making dinner three nights...I didn’t have time to DIY anything because of work...and even my workouts were kind of haphazard this week.

I was making the move into an uninspiring weekend.  I needed a pick-me-up, stat.  I hadn’t done my favorite at home beauty treatments in a while so I busted them out of the pantry.  These three treatments work better than anything I’ve ever bought in the store and I have all the ingredients for them already in my kitchen.  No running to the store for specialty products.

For my hair:
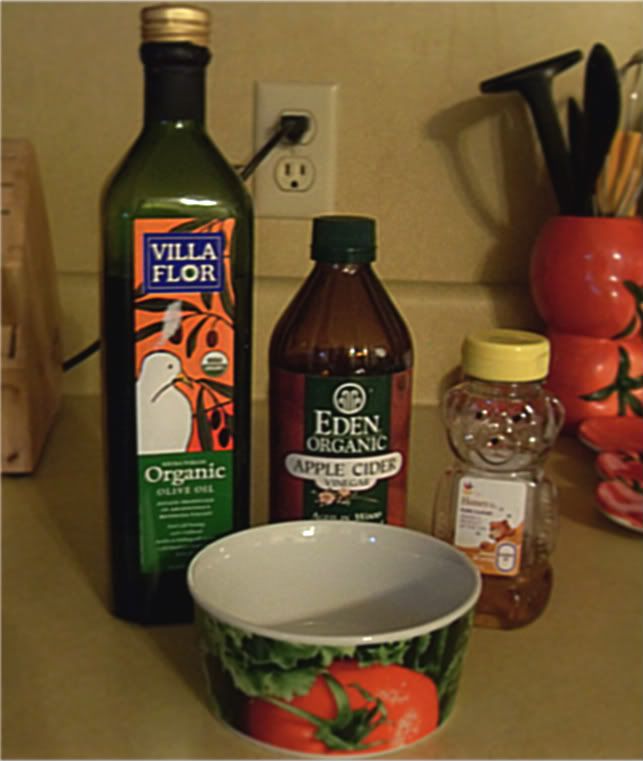
equal parts olive oil and apple cider vinegar
honey

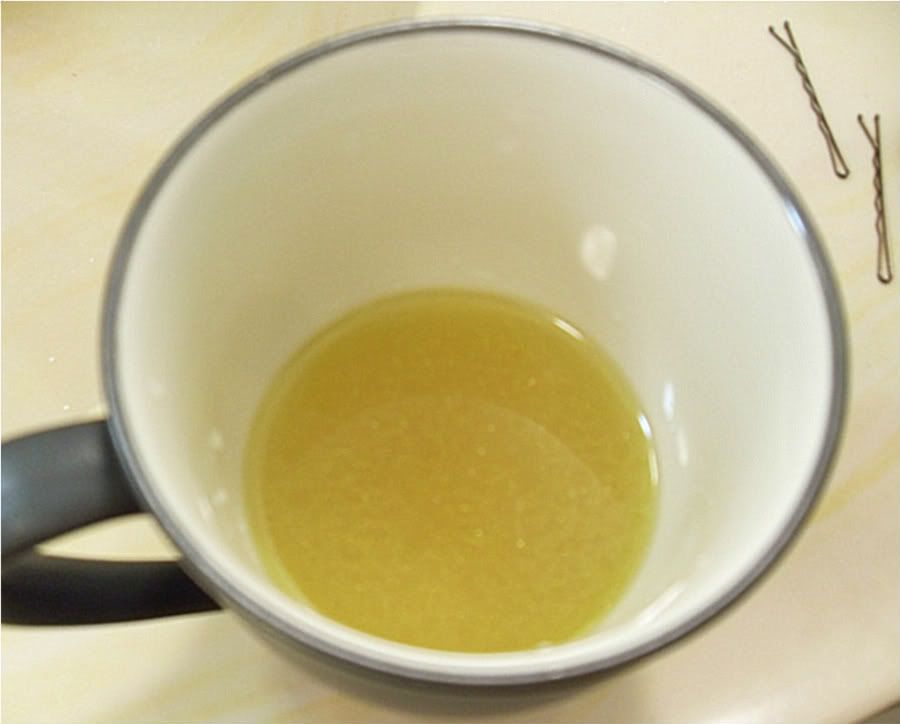
Whisk the ingredients together in a small bowl.  Apply to hair (hair should be soaked), clip hair up and out of the way, and let it set for about half an hour.  Wash out (because of the oil I find just a rinse isn’t sufficient.  Unless you want to go the rest of your day with super greasy hair).  Oh, and you WILL smell like an easter egg while doing this one.


I wish I could get a picture that does justice to the before and after of my hair when I do this.  I describe it to friends as a “hair transplant.”  It is soft, shiny, and has a TON of body.  After the very first time I did this, it was even a slightly different color!  The results last about a week.

For my skin:
equal parts honey and cinnamon
Bonus of this one-- it also tastes delicious!  Feel free to lick your face while this one is working it’s magic.

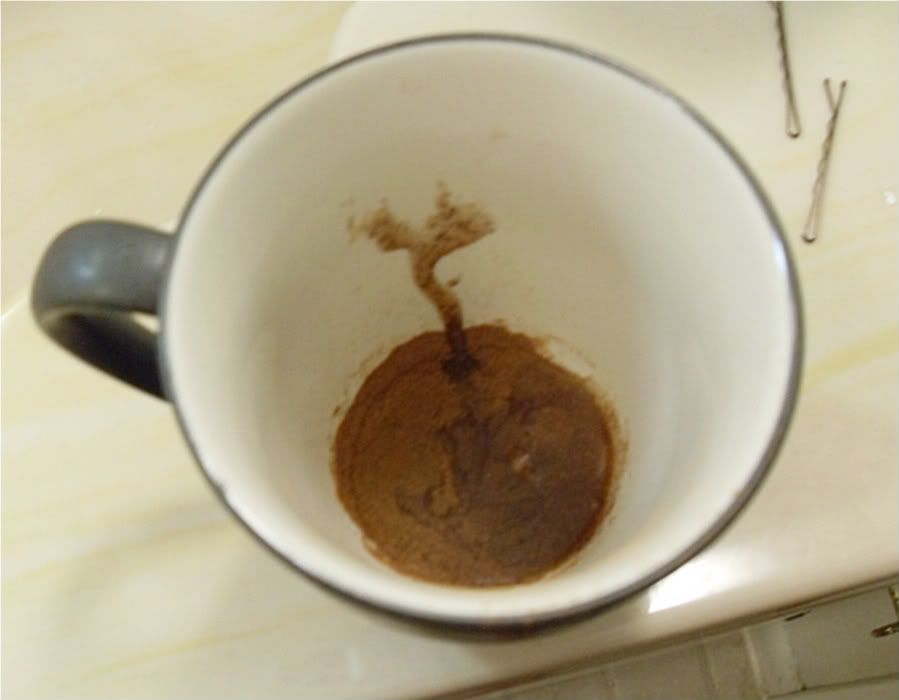
Mix the honey and cinnamon into a thick paste.  Shmear on your face.  Let it sit for about 20 minutes, rinse off.


I get this crazy red patch on my right cheek.  It’s not acne and it’s never truly bothered me enough to go to a dermatologist to find out what it is.  Just weird.  This mask SIGNIFICANTLY lightens that patch.  It also makes the rest of my skin look clearer, firmer, and gives it a little bit of a glow.  The honey is antiseptic and the cinnamon is an anti inflammatory.  So there ya go.  The results of this one also last about a week.


For my skin 2:
equal parts milk and unflavored gelatin

This makes pore strips like you can buy in a box.  My problem with the boxed ones is that I never feel like I can really get them into the nooks and crannies of my face.  Here is a video that gives the instructions way more clearly than I could type them out:


The thing that she doesn’t say in the video is that this one STINKS.  Oh my goodness...and your putting it on your FACE.  Hold your breath.  But it really does work. Trial-and-error tip:  don’t mess with it too much.  Paint it on your face and go.  If you try to blob it around with the brush too much it clumps up and doesn’t work.  Also, she tells you in the video to use a tablespoon of gelatin and a tablespoon of milk.  Unless you are going to paint your whole face with the stuff, that is WAY too much.  I recommend scaling it back.  I usually use ½ tbl of both ingredients.

I would not recommend doing the “pore strips” and the “mask” on the same day.  The mask is pretty exfoliating and the strips can be a little hard on your skin, too.  If you have sensitive skin, combining them may be too much for your poor face.

Do you have any at home beauty regimens that work for you?  Please share!

Monday, April 16, 2012

How To Eat Organic On a Budget

The other day, I made a salad for lunch that involved lettuce and cauliflower with some chopped apple for sweetness.  Pretty healthy, right?  Well...calorically speaking it was.  But, had not most of the ingredients been organic, I would have ingested 109 different hazardous chemicals.  Chemicals that, when transported in a tanker truck, get the privilege of being marked with this symbol:


Those chemicals could have gone into my body.

The USDA found 42 recurring pesticide residues on the average apple.  16 different pesticide residues were found on the average cauliflower.  Pesticide residues on the average head of lettuce numbered 51.  (http://www.whatsonmyfood.org/index.jsp)  These chemical residues include known and suspected carcinogens, known and suspected hormone disrupters, neurotoxins, and reproductive toxins.

“BUT E!!!!  ORGANIC FOOD IS SOOOOO MUCH MORE EXPENSIVE,”  you whine.  First, remember that organic food is the cost of real food.  The $1 hamburger at McRestaurant is NOT real food...therefore it costs less than a real hamburger does.  This post will outline some tips for buying organic on a budget.  Remember, I am a poor school marm and Z has a less than reliable work schedule.  But we manage to do it WITH money left over...so can you.


Step 1:  Cut the Crap
Part of the idea of eating organic is eating less processed food.  The more processed an item is, the more chemicals are in it.  The closer an item is to its natural state, the better it will be for you.  So stop eating garbage.

Nom Nom Nom!  I love pink slime!

When you cut processed chips, ice cream, cookies, donuts, fake meat, soda, juice, etc out of your grocery bill you will be amazed at how much money you have left over for good food.  For example:  An average container of “fruit juice” at my grocery store is somewhere in the $2-$4 range.  Turn it over and look at the label and you see chemical after chemical after chemical.  Even if it doesn’t have high fructose corn syrup in it, the first ingredient is probably water.  So rather than paying $4 for what is essentially water...we drink...WATER.  It’s FREE.  Let’s say you buy two jugs of juice a week.  That could be $8.  That’s enough to buy 4 organic peppers for the beginnings of a delicious stuffed pepper recipe for dinner one night.

And the same principle applies to all of the processed food filling your cart.  Why buy a box of 100 calorie fake food snacks when you can buy a bag of organic celery?  (And the celery is going to be less than 100 cal/serving anyway)

Do you or I have the money to just ADD organic food to our grocery bill?  Probably not.  But look at your receipt.  How can you move around the existing dollars and cents to make room for more organics?

Step 2:  Know your Stuff
I do not buy ALL organic food.  Now that really is too expensive.  But our friends in cyberspace have come up with a two lists for those of us who don’t have tons of extra cash lying around:

The Dirty Dozen:
  • Peaches
  • Apples
  • Sweet Bell Peppers
  • Celery
  • Nectarines
  • Strawberries
  • Cherries
  • Pears
  • Grapes (Imported)
  • Spinach
  • Lettuce
  • Potatoes
These are the foods that have the most pesticide residue.  And so these are the foods that I try to ALWAYS buy organic.

The Clean 15
  • onions
  • avocados
  • sweet corn
  • pineapples
  • mango
  • sweet peas
  • asparagus
  • kiwi fruit
  • cabbage
  • eggplant
  • cantaloupe
  • watermelon
  • grapefruit
  • sweet potatoes
  • sweet onions
These fifteen foods have the lowest traces of pesticide residue, so with these I skip the organics and just buy conventional produce.

Also in the “know your stuff” category:  Know the difference between an organic label and an all natural label.  A USDA organic label means that product follows USDA organic regulations:  No sewage sludge, irradiation, or gmo in any stage of production and no antibiotics or growth hormones were given to livestock.  Livestock were also fed 100% organic feed.


A “all natural” label means squat.  It’s a marketing technique.  There is no regulation of “all natural” and you might as well save a few bucks and buy the exact same product that doesn’t say “all natural” on it.

Step 3:  Know your Limitations
After you follow step one (cutting the crap) know what you realistically can and can’t afford and go as organic as possible.  Two examples of this from my own shopping cart include meat and milk.

Grass fed organic meat is SUPER expensive where we live.  We realistically can’t afford beef that has not been given hormones and antibiotics and was slaughtered while covered with its own dung.  So we just eat less of it.  We limit our meat consumption (much to Z’s dismay) to about 3 times a week.  I also have the grinder attachment for my stand mixer.  If we want hamburger, I will buy one cut of meat and grind it myself.  Yes, it is probably still chock full of hormones and antibiotics.  But at least I know it all came from one cow, reducing the risk of cross contamination.  It is also all meat...and not pink slime.

Organic milk is another thing we realistically can’t afford.  A half gallon of organic is the same price as a gallon of conventional milk.  I have found one brand, however, of conventional milk in my regular grocery store that claims to only use milk that comes from cows not treated with rBHT (the growth hormone).  I figure that’s the best I can do right now.

What you can afford and what you can’t depends on your income, priorities, and where you live.  Maybe you live next to a farm with grass fed beef that you can get on the cheap from the farmer but organic strawberries are $3 more in the grocery store.  Do what works for you.

Step 4:  Don’t make yourself crazy

Every organic apple you eat is 42 less chemicals that you putting into your body.  If you can afford the apples one week, but not the next, don’t go crazy over it.  Every little bit will help.

And think of it this way...the money you are spending now on organics is money you are saving on future cancer treatments, fertility treatments, and thyroid medication.

Good luck!  Happy shopping.

Friday, April 13, 2012

Angel Food Cake How-To and a Recipe


My parents own a small hobby farm.  They currently have a few sheep, a llama, and some chickens (their rotating cast of characters has also included, at various points in my upbringing, goats, ducks, geese, rabbits...but never a horse.  No.  Never a horse).  One of the great things about visiting with my family is that we get farm fresh, cage free eggs every time we go.  And I don’t just mean while we are visiting.  We get sent home with gratis farm fresh, cage free eggs.

We have had the great pleasure of seeing my family more often in the past few weeks than normally happens.  Because of this...we have an overabundance of eggs.


Whoa...eggs!
Luckily, one of Z’s favorite desserts is angel food cake.  Store bought angel food just isn’t the same as the real deal so I took the opportunity to break a few eggs and make an omlet a cake from scratch.  It was gone in two days.

I found a recipe that substitutes part of the refined sugar with honey.  And angel food cake is already fat free, so I didn’t feel guilty that it disappeared so fast.  Here are some tips when making angel food cake from scratch.  It can be a bit temperamental. (See post re: why I don’t bake.)  The full recipe is included at the bottom of the post and can also be found here.

First and foremost, you can’t have ANY yolk in your eggs whites.  Even a speck will cause your whites not to beat right...or so I hear.  Here is the method my mother taught me for separating my yolks from my whites (I really wish I had taken a picture of this step.  Sorry):
Step 1:  Get two bowls and a large liquid measuring cup.
Step 2:  Crack the egg GENTLY into your hand over one bowl.
Step 3:  When the white has run through your fingers (looking like snot) and left behind an intact yolk, deposit yolk into second bowl.
Step 4:  Deposit yolk-free egg white into measuring cup.

Repeat ad nauseum.  It took me 14 eggs to successfully separate 1 ½ cups of egg whites.  Using this method insures that  ALL of your whites aren’t contaminated by yolk.  If a yolk happens to break and run through your fingers with the snot white, you only have to toss one egg white...rather than the previous twelve you’ve already separated.

The second important step to a successful angel food cake is knowing the difference between a soft peak and a stiff peak.  When beaten egg whites stand on your beater, but the tip curls, that is a soft peak.  When the whites stand on your beater and the tip doesn’t curl...stiff peaks!  psst....soft peaks come first in the beating process.


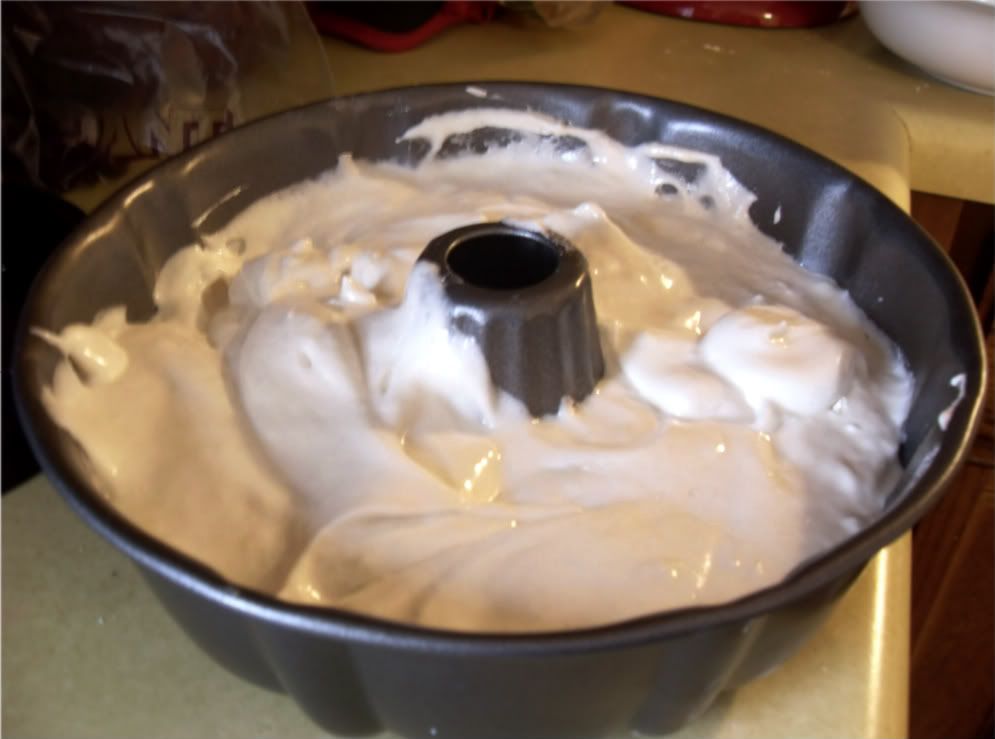
Last, the difference between folding and mixing:  After you have beaten your eggs, you really don’t want to lose the volume that you have achieved.  This is why the difference between folding and mixing your dry ingredients is important.  Folding is exactly what it sounds like.  You sprinkle the dry ingredients on top, stick your spatula to the bottom of the bowl, and scoop some of the bottom egg whites to the top in a kind of folding motion.  Mixing is a more vigorous stirring motions and will cause the egg whites to deflate a little.  True confessions time:  Here is where I kind of messed up on my angel food cake.  My dry ingredients weren’t folding to my satisfaction and I got a little impatient.  I may have been a little indelicate towards the end of the folding process.  The result was a cake more on the dense side.  Still delish...just not quite the desired texture of an angel food cake.


Good luck with your cake!  As promised, here is the recipe for Honey Angel Food Cake.  It has a great flavor from the honey-- not overwhelmingly honey flavored, but a slightly deeper flavor than regular Angel Food Cake.  We ate it with thawed frozen strawberries and raspberries.

1 ½ cups egg whites
1 ½  cups sifted powdered sugar
1 cup sifted cake flour or sifted all-purpose flour
1 cup sifted all purpose flour
1 ½ tsp cream of tartar
1 tsp vanilla
¼ cup honey
½ cup granulated sugar

1.  Allow egg whites to come to room temperature.  Meanwhile, sift powdered sugar and flour together.  Set aside.
2.  Add cream of tartar and vanilla to egg whites.  Beat with an electric mixer until soft peaks form.  Gradually add honey in a thin stream. Continue beating.  Add granulated sugar slowly.  Beat until stiff peaks form.
3.  Sift one fourth of the powdered sugar mixture over beaten egg whites.  Fold in gently.  Repeat, folding in the mixture by fourths.  Pour into an ungreased 9 or 10 inch tube pan.  Gently cut through batter to remove air pockets.
4.  Bake on the lowest rack in a 350 degree oven for 40-45 minutes, or until the top springs back when lightly touched.  Immediately invert cake and cool completely in the pan.  Loosen cake from pan and remove.


So now the big question:  What do I do with the yolks???